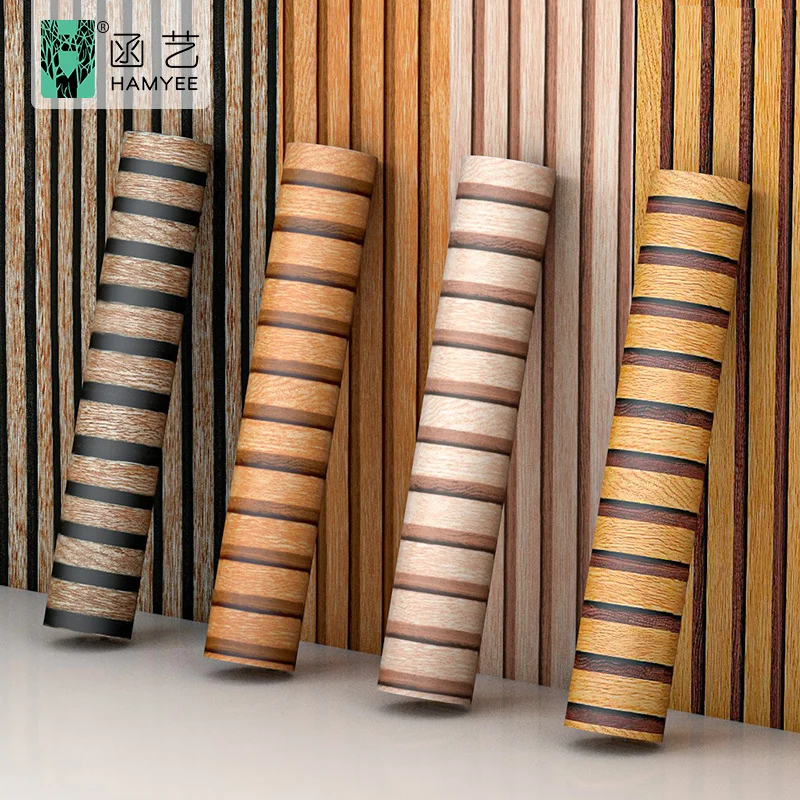
Če ste na trgu po kakovosti, ki bo veseležno in enostavno osvežila vaš dom, potem ne iščite dalje od tapet s samolepim ozadjem! Samolepi zavih bi moral omogočiti preprosto in brez stresa namestitev ter odstranitev, vendar pa tudi ta uporabniški pristop ima svoje poteze. Če niste pozorni, lahko postopek odstranitve samolepih tapet postane izredno frustriran dogodek. Tu obravnavamo nekaj najbolj pogostih napak pri odstranjevanju tapet, ki jih storujo lastniki hiš, triki za odstranitev z minimalnim motnjo ali škodo ter nekaj območij, kjer lahko naletite na težave, če storite pazljivo.
Kako odstraniti samolepe tapete brez napak
Pred izbrisom, se ustavite in priznamo pogoste napake, v katerih jih je malo ljudi, ki jih lahko izognemo temu ciklu:
Preveč hitro: Nesrečno jo odstranite prehitro, še posebej po lahkem parjenju, ki razmakuje lepljivo, kar pomeni, da se bo pojavila trska, polom ali več krmoženega lepljiva.
Zanemarjanje temperature: Poskusite odstraniti to lepljivo, ko so temperature predvsem previsoke ali prenizke, kar vpliva na gumovitost lepljivih sredstev, kar povzroča težave pri odstranjevanju.
Ne poskušajte nikoli: Vedno najprej preskusite majhno skrito mesto, če ne, bi lahko zaključili z trskanjem barve ali uničenjem stene, ki je bila trdnejša, kot smo mislili.
Kako zmanjšati uničenje med odstranjevanjem stene
Kot odgovoren lastnik hiše morate brat staro steno tako, da jo zaščitite in služi kot enakomerben platforma za prihodnjo umebo:
Topli lepljivi: Toplite svojo steno z kosečnim sušilnikom na najnižjih nastavitvah in nato začnete luskanje. To raztopi lepljivo tako, da se stena lahko enostavno in brez poškodb odpravi.
Počasno in usklajeno zmaguje - Odlupite oblepreno papir počasi, pod nizkim kotom, da ga ne poškodujete ali ne pustite lepljenke na stenah.
Lahko uporabite raztopilo - Če je katera območja nemogoč odstraniti, jih lahko lahkoto prelejete s cedrno ali raztopilom za oblepreno papir. Poskrbite, da stene ne premljujete, saj bi preveč vode mogla skriti v suhah stenah.
Kako izvleči oblepreno papir brez posipov
Tu je seznam odličnih metod, ki bodo zagotovile optimalen rezultat:
Lahko označite: Če še vedno težka odstraniti, jo lahko lahkoto označite z iglasto valčico ali orodjem za označevanje obleprenega papirja. Poskrbite, da ne presrežete stene spodaj.
Odlupitev s kota: Dajte si boljše dlanje in čisto, gladko dostopno območje, če začnete s kota ali roba.
Korak 1: Razdelite oblepreni papir na dele. To pomaže, da se papir ne zaklene sam v sebe in vam pomaga nadzorovati, ko ga povlecete.
Uvod v napake pri odstranjevanju obleprenega papirja
Načrt B: Najverjetneje najbolj očitna stvar za omeniti, vendar je zelo uporabno, če veš, kako drugače nadaljevati in zaključiti, ko se stvari ne razvijajo po načrtu.
Če ostane kakšen lepilnik, uporabite toplo vodo s priborom za posode na mehki špong. Počistite in preplakajte s hladno vodo.
Odlomljene slike: Pri odtrjanem delu vzamite pinzetke in dvignite rob, nato odlepite. Za manjše kose uporabite gipski nož, da jih odstranite, ne da bi poškodili steno.
Prenos barve - Če se barva tapeta prenese na steno, poskusite z čudovitnim izbrisnikom ali jemnim agresivnim čistilcem (preizkusite v nepojavnem kotu).
Umetnost brezproblematnega odstranjevanja tapet
Odstranitev lepljivega in prilepljivega tapeta je resnično umetnost, ki jo je potrebno izvajati z strpnjo, primerno pripravo in pravilnimi tehnikami. Zaznavanje napak, ki jih počnejo številni lastniki hiš, ter sprejemanje preventivnih ukrepov ne le zaščiti vaše stene, ampak tudi pretvori potencialno stresno nalogo v enostavno, nagradno izkušnjo. Posvetite čas zagrevanju lepljenca, delajte pozorno in popravljajte male težave zdaj, da boste kmalu nazaj na prazen platno za karkoli bo naslednja stvar. Pa, znova je preprosto namestiti lepljivi in prilepljivi tapet, vendar pa je odstranitev več umetnosti, ki zahteva pravi dotik.

 EN
EN
 AR
AR
 HR
HR
 CS
CS
 DA
DA
 NL
NL
 FI
FI
 FR
FR
 DE
DE
 EL
EL
 IT
IT
 JA
JA
 KO
KO
 NO
NO
 PL
PL
 PT
PT
 RO
RO
 RU
RU
 ES
ES
 SV
SV
 IW
IW
 ID
ID
 LV
LV
 LT
LT
 SR
SR
 SK
SK
 SL
SL
 UK
UK
 SQ
SQ
 ET
ET
 HU
HU
 TH
TH
 TR
TR
 FA
FA
 AF
AF
 MK
MK
 KA
KA
 UR
UR
 BN
BN
